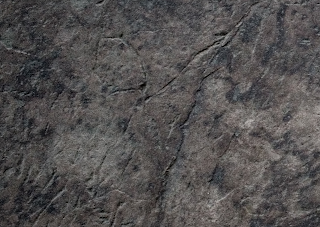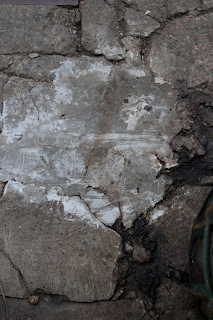

To create this image was a lot easier than I thought it would've been the first this I did was to lay the images in the sequence above the same way in PhotoShop, whilst on the second layer I added a Soft white and a colour dodge to the third and a hard light, this allowed me to keep the dark areas dark with some highlights in the picture . i then created a new layer and Painted around the edges in Black and set the mode to soft light to add a Vin-yet effect. I then merged the layers together. I then got a new layer and painted in the strokes I wanted in white; I then make a selection of the strokes and disable the layer. I then clicked on the layer that I have merged and duplicated it to create a layer of the selection.I then Added some layer styles to the image with a inner Shadow the blend mode set to multiply, an Outer glow with the blend mode set to overlay and a colour overlay with the blend mode to softlight and a orange grey colour. I then added a levels adjuster and a photo filter before returning to the stroke layer to adjust the levels to make it pop out a little bit more and this is the result. I found this tutorial very helpful in a lot of ways it has taught me some new tricks in photoshop to make an image stand out a bit more and also how to engrave a image


No comments:
Post a Comment